TL;DR
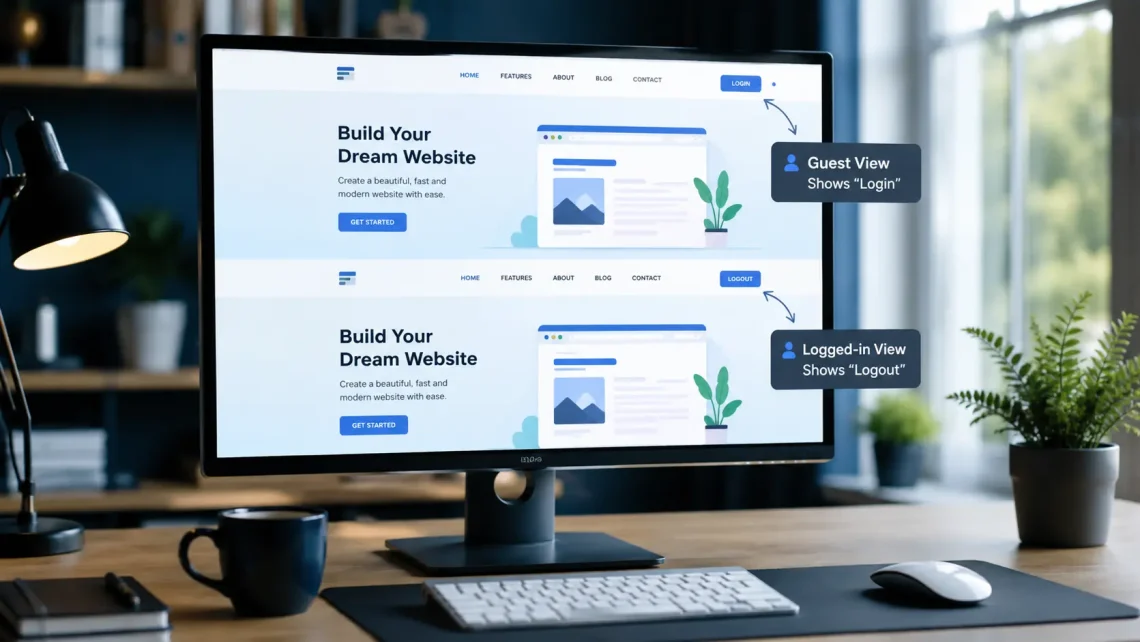
- A dynamic menu lets your navigation change based on the visitor’s login status.
- Guests can see Login and Register, while logged-in users can see Logout, Profile, or other member menu items.
- The easiest way to set this up is with a dedicated plugin.
- If you need more flexible control, you can add custom auth items through child theme code — without creating two separate menus.
- You can see this behavior live in the login-logout case study demo.
- This guide covers both methods, including their pros and cons.
WordPress offers a very flexible navigation system. By default, however, the same menu is shown to every visitor, whether they are logged in or not.
On many types of websites, that default behavior is less than ideal. For example, a membership site usually wants to show a Login button to visitors who do not have an active session.
After the user signs in successfully, that button is replaced with Profile, Dashboard, or Logout. With this approach, navigation becomes simpler. The user experience also becomes much better.
The good news is that you do not need to build this system from scratch. There are several ways to do it, from using a plugin to adding custom code in a child theme.
In this guide, you will learn how to create a Dynamic Login & Logout Menu in WordPress with easy-to-follow steps. The discussion also covers a case study approach that uses one menu with dynamic auth items.
Dynamic Menu vs Static Menu
| Feature | Dynamic Menu | Static Menu |
|---|---|---|
| Changes based on login status | ✅ | ❌ |
| User personalization | ✅ | ❌ |
| Suitable for membership sites | ✅ | ❌ |
| Suitable for WooCommerce | ✅ | ❌ |
| Easy to maintain | ✅ | ✅ |
A dynamic menu lets each user see navigation that matches their condition. By contrast, a static menu always shows the same items to every visitor. It does not consider whether the user is already logged in.
Why Use a Dynamic Menu in WordPress?
A dynamic menu does more than make your website look more professional. It also helps improve the user experience.
Some of the benefits include:
- Navigation becomes simpler.
- Visitors only see the menus they actually need.
- Less confusion when moving between pages.
- A more personalized experience.
- A strong fit for membership websites.
- Ideal for WooCommerce stores.
- Lower chance of users opening irrelevant pages.
For example, a new visitor may only need to see this menu:
- Home
- Blog
- Login
- Register
- Contact
After a successful login, the navigation can change to:
- Home
- Profile
- Logout
For an online store, the logged-in navigation might look like this:
- Dashboard
- My Account
- Orders
- Wishlist
- Logout
A simple change like this can make browsing the site much more comfortable.
For a practical example, open the login-logout demo while you are logged out.
The navigation will show:
- Home
- Log In
- Register
After a successful login or registration, those items are replaced with member menu items such as:
- Logout
- Profile
When Should You Use a Dynamic Menu?
This feature is strongly recommended whenever your website has a user account system.
Examples include:
- Membership websites.
- LMS or online course platforms.
- WooCommerce stores.
- Community websites.
- Customer portals.
- Company websites with a private client area.
- Websites that provide a user dashboard.
If your website is only a simple company profile, a dynamic menu is usually not necessary yet.
How a Dynamic Login & Logout Menu Works
The concept behind a dynamic menu is fairly simple. When someone opens your website, WordPress checks whether that user is already logged in.
There are two common patterns:
- Two full menus — the guest menu is fully replaced with the member menu (usually handled by a plugin).
- One menu + dynamic auth items — Login, Register, Logout, and Profile live in the same menu, then their URLs and visibility are adjusted based on login status (usually handled with custom code in a child theme).
If the visitor is not logged in, the system shows guest items. If the user is logged in, those items are replaced with member or customer items.
In simple terms, the flow looks like this:
Visitor Opens Website
            │
            ▼
Already Logged In?
      │              │
      │ No           │ Yes
      ▼              ▼
Guest Menu      Member Menu
(Login,         (Profile,
 Register)       Logout)
This approach makes navigation more relevant for every user.
Method 1 — Using the Login Logout Menu Plugin
For most WordPress users, a plugin is the easiest solution. You do not need to write PHP code or modify theme files. The plugin handles the menu switch automatically based on the user’s login status.
This method works especially well for:
- Beginners.
- Business websites.
- Blogs.
- WooCommerce stores.
- Simple membership websites.
Step 1 — Install the Plugin
Go to your WordPress Dashboard.
Open this menu:
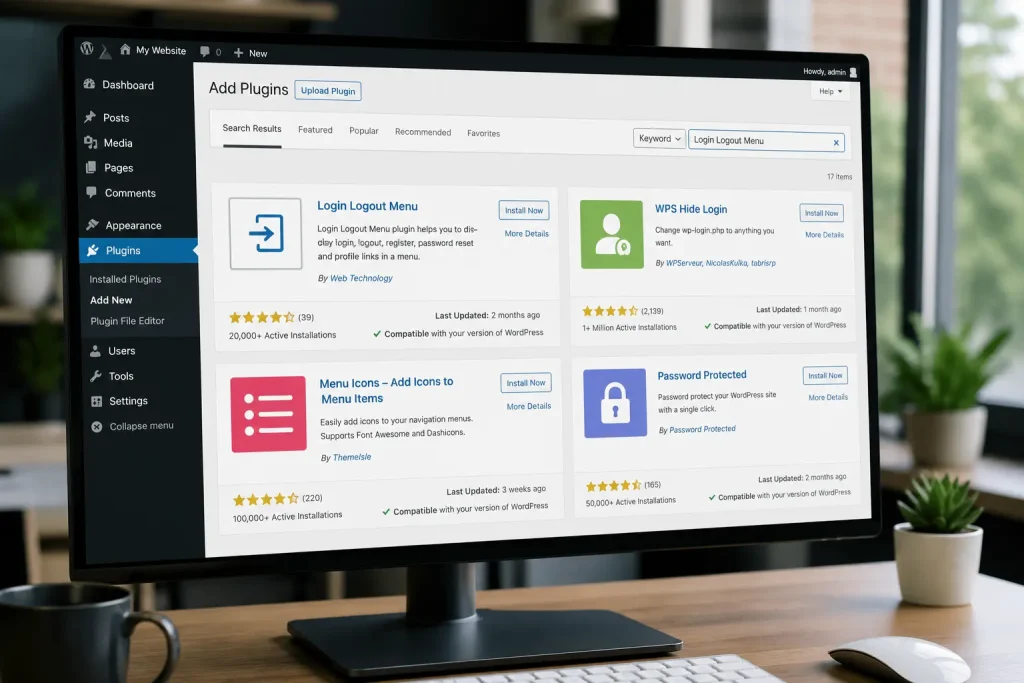
Plugins → Add New
In the search box, type:
Login Logout Menu
Then select the plugin and install it.
Once it is finished, click Activate.
Step 2 — Create Two Navigation Menus
Next, open this menu:
Appearance → Menus
Create two different menus. The first menu is for guests.
For example:
- Home
- Blog
- Contact
- Login
The second menu is for logged-in users.
For example:
- Dashboard
- My Account
- Orders
- Logout
Separating the two menus from the start makes configuration much easier later.
Step 3 — Connect the Menus to Login Status
After both menus are ready, open the plugin settings. Choose the menu that should appear when the user is not logged in.
Then choose the second menu that should appear after a successful login. The plugin will automatically switch the menus whenever the user’s login status changes. You do not need extra rules or PHP code.
Method 2 — Using Custom Code in a Child Theme
If you need more flexible control, you can build a dynamic menu with custom code in a child theme. Unlike the full two-menu approach, you still use one navigation menu.
Then you add special items such as:
- Login
- Register
- Logout
- Profile
When the page loads, WordPress will do the following:
- Check the user’s login status.
- Rewrite each auth item URL to the correct page.
- Hide any items that are not relevant for that status.
This method lets you decide how each item behaves based on specific conditions, such as:
- User login status.
- User Role.
- Membership Level.
- WooCommerce Customer.
- Administrator.
- Editor.
- Author.
This approach is a better fit for developers or users who are comfortable customizing WordPress. In the case study used in this guide, the implementation lives in a GeneratePress child theme.
Step 1 — Add an Auth Meta Box in Appearance → Menus
Instead of registering two separate menu locations, add a custom meta box to the menu screen.
Open:
Appearance → Menus
Example meta box name used here:
Custom Auth Menu
From that meta box, provide ready-to-use items such as:
- Login
- Register
- Logout
- Profile
Behind the scenes, each item uses a special placeholder URL.
Example placeholders:
#auth-login#
#auth-register#
#auth-logout#
#auth-profile#
These placeholders are then processed by WordPress filters before the menu is rendered on the frontend. The benefit is that you manage all auth items from the familiar menu panel. You also do not need to install an extra plugin.
Step 2 — Build One Navigation Menu
Open this screen again:
Appearance → Menus
Create or edit one main menu.
Example structure used in the case study:
- Home
- Login
- Register
- Logout
- Profile
Add the auth items from the Custom Auth Menu meta box, not as ordinary Custom Links. This structure is enough for both guests and members.
What changes is which items appear, and where each item points.
Step 3 — Rewrite URLs Based on Login Status
WordPress provides a built-in function to check the user session:
is_user_logged_in()
Using the filter below, each auth placeholder is processed before the menu is displayed:
wp_setup_nav_menu_item
Each auth placeholder is handled like this:
| Item | When it appears | Target URL |
|---|---|---|
| Login | Not logged in | Login page (for example /login/ or wp-login.php) |
| Register | Not logged in | Registration page |
| Logout | Logged in | wp_logout_url() pointing to the homepage |
| Profile | Logged in | Profile page or the user’s author archive |
If the condition is not met, that item is not displayed. For example, guests who are not logged in will not see Logout or Profile. Technically, any item that still has a leftover #auth-* placeholder should be removed from the menu output. That process is usually handled with this filter:
wp_nav_menu_objects
This approach stays lightweight because it only uses core WordPress functions and menu item filters.
Step 4 — Test the Login and Logout Flow
After the code is active in your child theme, test it directly on the frontend.
Follow these steps:
- Open the site while logged out.
- Make sure the navigation shows Login and Register.
- Click Login or Register, then complete authentication.
- Return to the homepage and check the navigation again.
- Make sure the guest items are replaced with Logout and Profile (or other member items).
- Click Logout, then confirm the menu returns to the guest state.
You can follow the same flow on the case study demo.
The difference in navigation before and after login is the clearest sign that the dynamic menu is working.
Plugin vs Custom Code
Choosing between a plugin and custom code depends on what your website needs.
| Criteria | Plugin | Custom Code |
|---|---|---|
| Easy to use | ✅ | ❌ |
| Beginner-friendly | ✅ | ❌ |
| Flexible | ⚠️ | ✅ |
| No coding required | ✅ | ❌ |
| Easy to maintain | ✅ | ⚠️ |
| Performance | Good | Excellent |
| Customization | Limited | Highly flexible |
| Menu approach | Usually two full menus | One menu + dynamic auth items |
In general, a plugin is the best choice for most WordPress users. Installation is quick and does not require programming knowledge. Custom code is a better fit when your website has very specific needs. It is also useful if you want to reduce dependence on third-party plugins. In addition, custom code makes it easier to control each login/logout item directly from a child theme.
Best Practices When Using a Dynamic Menu
To keep a dynamic menu working well, apply a few best practices.
Use Clear Menu Names
Make sure every menu has a name that is easy to recognize.
For example:
- Guest Menu
- Member Menu
- Admin Menu
This makes management much easier as the number of menus grows.
Avoid Oversized Menus
Only show the menu items users actually need. Too many navigation items make it harder for people to find important pages.
Test Every Login Condition
After you finish building the dynamic menu, test it under several conditions.
For example:
- Logged out — make sure only guest items appear.
- Logged in as a customer — make sure Login/Register disappear and Logout/Profile appear.
- Logged in as an administrator.
- Logged in with an editor account.
- After logout — make sure navigation returns to the guest state.
These checks help confirm that every menu appears correctly. The fastest flow is to click Login or Register, complete authentication, then check the navigation again on the same page.
Watch Caching Plugins
Caching plugins sometimes store the same page version for every user. As a result, the guest menu may also appear for logged-in users. Make sure your caching plugin supports dynamic pages. You can also exclude certain pages from caching.
Keep the Menu Structure Consistent
Even when menu items change, try to keep the overall navigation structure consistent. Users will find pages more easily if the menu order does not change dramatically.
Common Mistakes
These mistakes are fairly common when building a dynamic menu in WordPress:
- Forgetting to assign the menu to a navigation location.
- Not testing both login and logout conditions.
- Using a caching plugin without the right configuration.
- Showing too many menu items to users.
- Not separating admin menus from customer menus.
- Deleting the old menu before migration is complete.
- Not testing the display on mobile devices.
Avoiding these mistakes helps keep the user experience consistent.
Frequently Asked Questions
Can a dynamic menu be used with every WordPress theme?
Yes.
As long as the theme uses the built-in WordPress menu system, a dynamic menu can generally be applied.
You can build it with a plugin or with custom code.
Do I have to use a plugin?
No. A plugin is the easiest option for beginners.
But if you want more flexible control, custom code can be the better solution.
Can a dynamic menu be used with WooCommerce?
Yes. A dynamic menu works very well with WooCommerce for showing items such as:
- My Account
- Orders
- Wishlist
- Logout
Those items appear after the customer successfully logs in.
Does a dynamic menu affect website performance?
The impact is very small. Both plugins and custom code only run a simple check against the user’s login status.
As a result, this feature generally does not have a meaningful effect on site speed.
Can I show different menus based on User Role?
Yes. In addition to splitting menus by login status, you can also show different menus for:
- Administrator
- Editor
- Author
- Customer
- Subscriber
- Specific membership levels
This approach is especially useful on websites with many types of users.
Conclusion
A Dynamic Login & Logout Menu is a simple way to improve the user experience in WordPress. By showing navigation that matches the login status, users can find the pages they need more easily.
They also no longer have to look at irrelevant menu items. For most website owners, a plugin is the most practical solution. Plugins are easy to install and do not require coding skills. Meanwhile, custom code in a child theme offers higher flexibility.
One menu is enough when it contains special auth items such as:
- Login
- Register
- Logout
- Profile
Then WordPress adjusts the URLs and visibility for you.
This pattern is used in the login-logout demo case study. Whatever method you choose, always test multiple login conditions. Also check caching plugin compatibility. Keep the navigation structure simple so the user experience stays optimal.

